
Basketball Injuries and How to PREVENT THEM
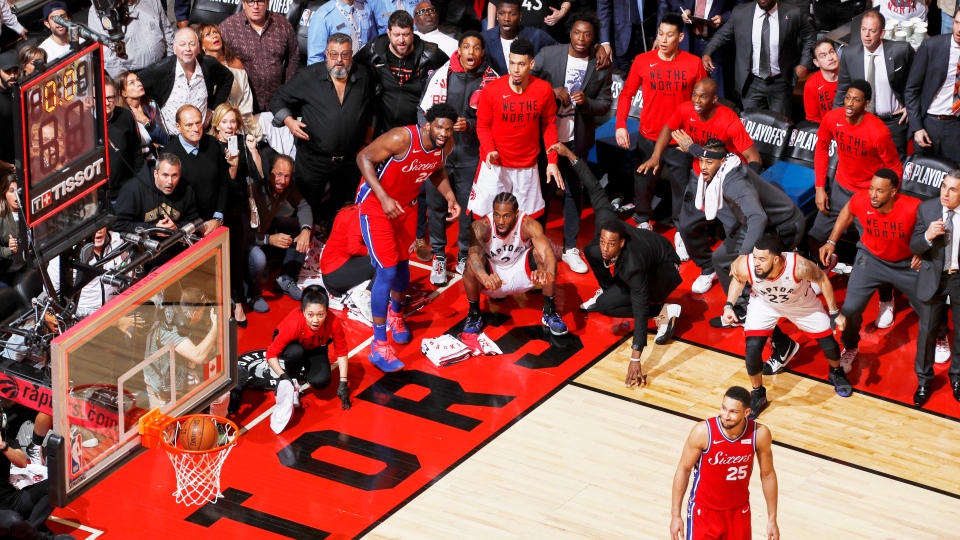
With the NBA finals wrapping up, it’s time for the offseason, which means practice, workouts, and injuries! Canadian Basketball is growing in popularity, especially in the past few years. Whether you are playing professionally or recreationally you have probably experienced or seen a basketball-related injury. With any physically demanding sport, there’s a higher chance of getting injured. Today we will show you how to PREVENT the most common basketball injuries, so you can continue playing your favourite sport.
ARMOUR-UP YOUR ANKLES
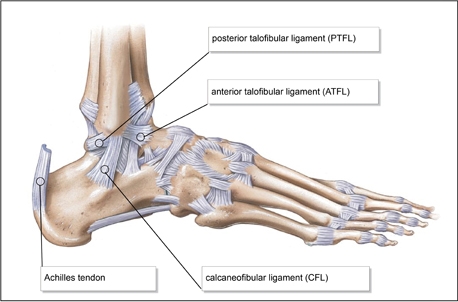
Ankle sprains are easily the most common injury in basketball, this happens when a player lands or twists their ankle inward. This stretches or in some cases tears the ligaments that are around the ankle joint. The ATFL or anterior talofibular ligament is usually the ligament that gets injured when the ankle twists inward. This ligament connects your foot bone to your lower leg bone. Injury to this ligament causes pain, swelling, redness, and decreased movement near the ankle. Depending on the severity of the sprain dictates the time it takes to get better. This can range from a few weeks to several months with physiotherapy speeding up the process. I like to say the best way to fix an injury is to prevent it, and that’s exactly what we’re discussing today.
Ankle Strengthening:
To start things off, Basketball uses a lot of ankle strength and coordination, making it a frequent injury spot. When you land with the ankle bent inward you put the ATFL ligament on stretch. This leads to the ligament to stretch or tear in severe cases. Luckily, we know some easy exercises you can do to prevent ankle injuries.
3 Exercises to Armour up YOUR Ankles:
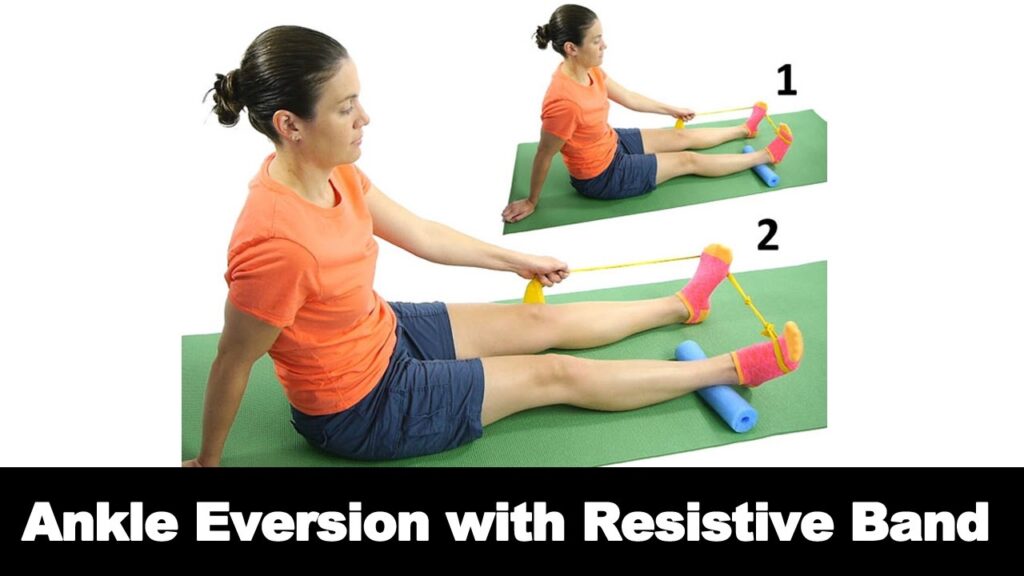
Ankle Eversion With a Band:
- Keep the band around the forefoot and wrap the other end around the opposite foot
- While holding on to the band, push the foot outwards
- Ensure that the motion is coming from the ankle, not the leg
Single Leg Calf Raise
- Start with your heels off an elevated surface
- Lower yourself down until you feel a stretch in the back of your lower leg.
- Raise yourself onto your tippy toes and repeat
Single Leg Lateral Jumping
- Start by standing on one leg with the knee quarter bent
- Jump to the other leg land and balance for 2 seconds
- After balancing for 2 seconds, repeat

Prehab Your Knees
From shooting hoops to dunking on your competition, basketball puts lots of force on the knees. Next to ankle injuries, knees are frequently injured due to the fast-paced nature of basketball. According to the statistics, knee ligament sprains are the third most common cause of missed games among basketball players. You may have heard of ACL tears, patellofemoral pain, and jumpers-knee, lucky for you we will go over all of them today.
Knee Conditions
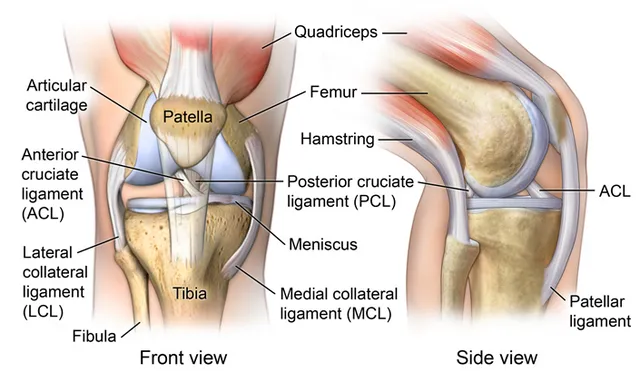
ACL tear: The ACL stands for anterior cruciate ligament and connects the femur (upper leg bone) to the tibia (lower leg bone). The function of this ligament is to stop the tibia from moving forward on the femur. Frequently, this ligament can be stretched or torn when you plant and twist on your leg. Usually, an ACL sprain is followed by swelling, redness, pain, and varying degrees of weight bearing. Many NBA players have torn their ACL some include Derrick Rose, Kyle Lowry and Kawhi Leonard. All of the following players made a full recovery and were able to play at the highest level once again.
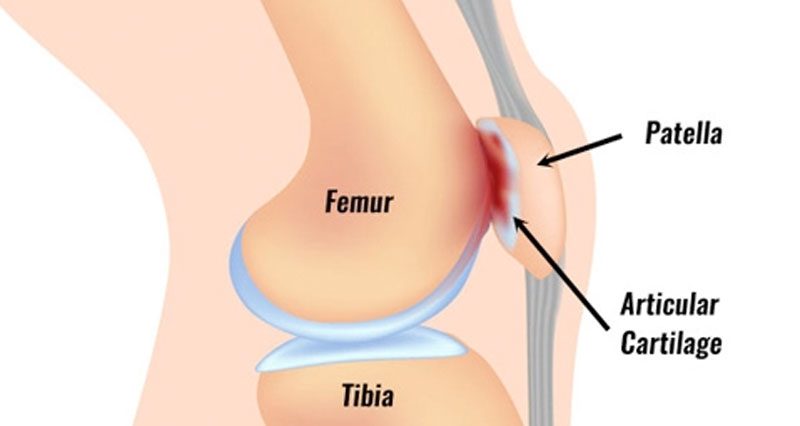
Patellofemoral Pain Syndrome: PFPS is a condition that causes pain over the knee cap area. To start, the knee cap moves as you bend and extend your knee, sometimes irritating the knee cap’s joint. This happens when you lack control over the position of your knee when doing activities. Also, patellofemoral pain can be caused by tight muscles. Secondly, PFPS is an overuse injury that worsens the more you move your knees. Individuals usually experience pain when climbing stairs, sitting with bent knees for extended periods, and increased activity levels.

Jumpers knee: Jumpers-knee is a condition that is extremely common in basketball, as the name suggests. This condition is another overuse injury that leads to pain in the front of the knee where the quadriceps tendon attaches. Jumpers knee is also known as Osgood Schaltter’s which sounds way scarier than it is, I PROMISE. To start, we have tendons that connect muscles to bone, all over our bodies. Overusing these tendons, especially in your knee can lead to small tears and disorganization of tendon fibers. When these fibers become disorganized they don’t function as they should. Moreover, the disorganization of tendon fibers can lead to pain and swelling that worsens with activity.
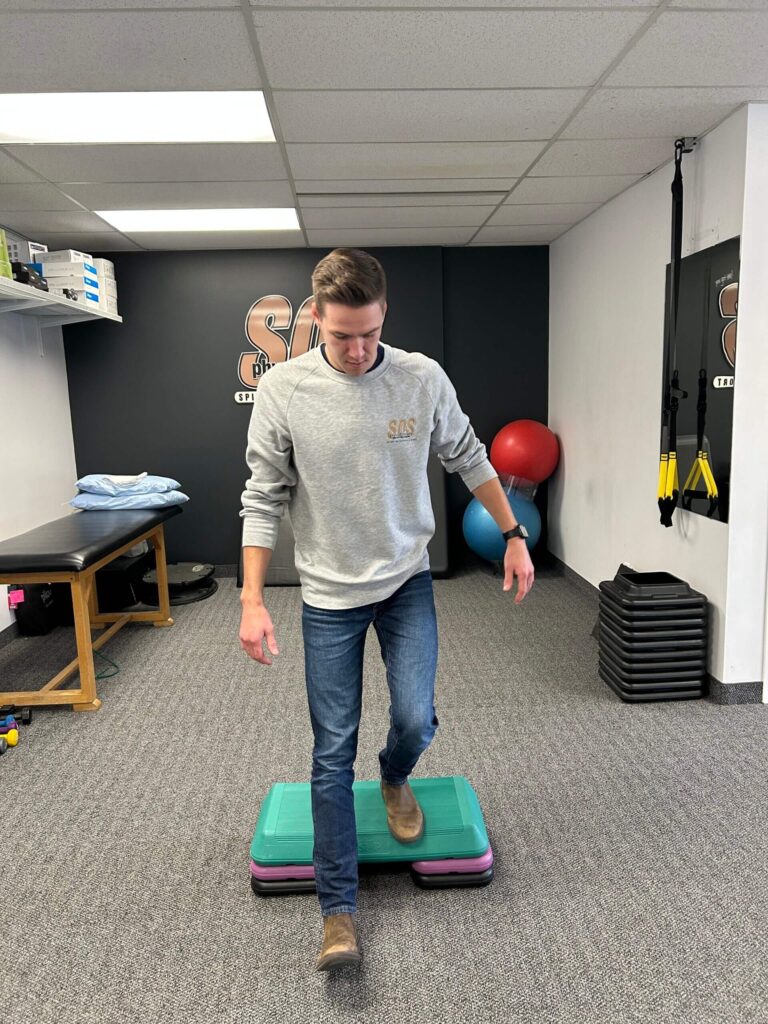
BULLETPROOF YOUR KNEES
- To start this exercise, stand with both feet on a step or stable elevated surface (the first step on your stairs works).
- Pick one leg as your stance leg and one as your step leg. Slowly step down off the step while keeping your stance leg planted. The key to this motion is to try and track your knee over the top of your first and second toes, not allowing your knee to cave in towards your midline.
- Finish the exercise by planting your heel on the ground and transferring your weight to the front of your foot, then return that leg to the step by pushing off the ground, and returning to the starting position.
Sets: 3-4 Reps: 6-8 Duration: 3 seconds on the descent. Intensity: 6-8/10 effort level (add weight to get to this level if needed, but focus on control first before adding weight) Frequency: 3-4x/week.
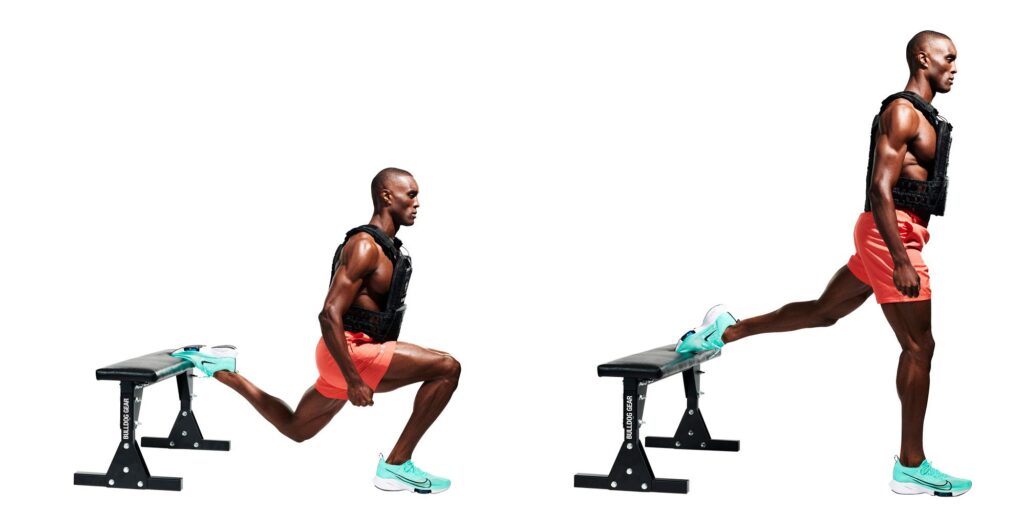
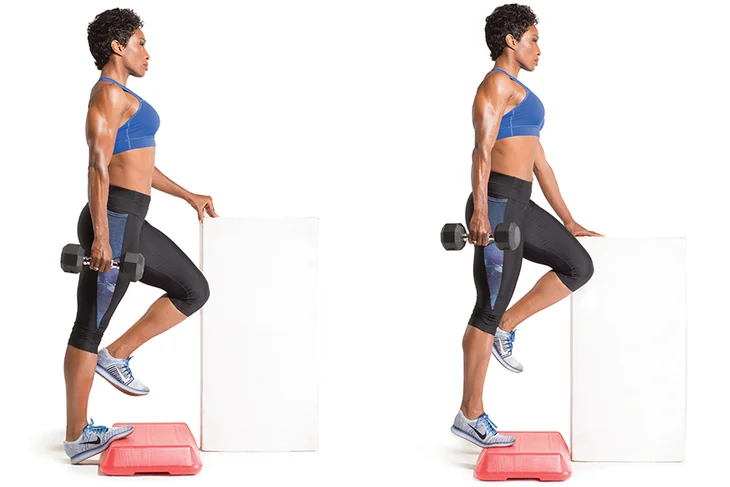
- Starting with your feet hip-width apart place one of your legs on an elevated surface. Keep the front hip, knee, and ankle stacked on each other.
- Lower down towards the ground trying to get your front knee close to 90 degrees before your back leg touches the ground press up and repeat.
- To find your stance length, sit at the edge of your seat with your leg fully extended out in front of you. From this position stand up.
- Sets: 3-4 Reps: 8-10 Duration: 3 seconds on the descent. Frequency: 3-4x/week. Stop if painful.
- Start in a tall kneeling position holding onto a heavy resistance band.
- Lean back keeping your body straight throughout the exercise. Having a backrest like a bench is optional.
- Keep your core tight and spine neutral and raise back up to the starting position.
- Sets: 3-4 Reps: 8-10 Duration: 3 seconds on the descent. Frequency: 3-4x/week. Stop if painful.
